
 by
by 
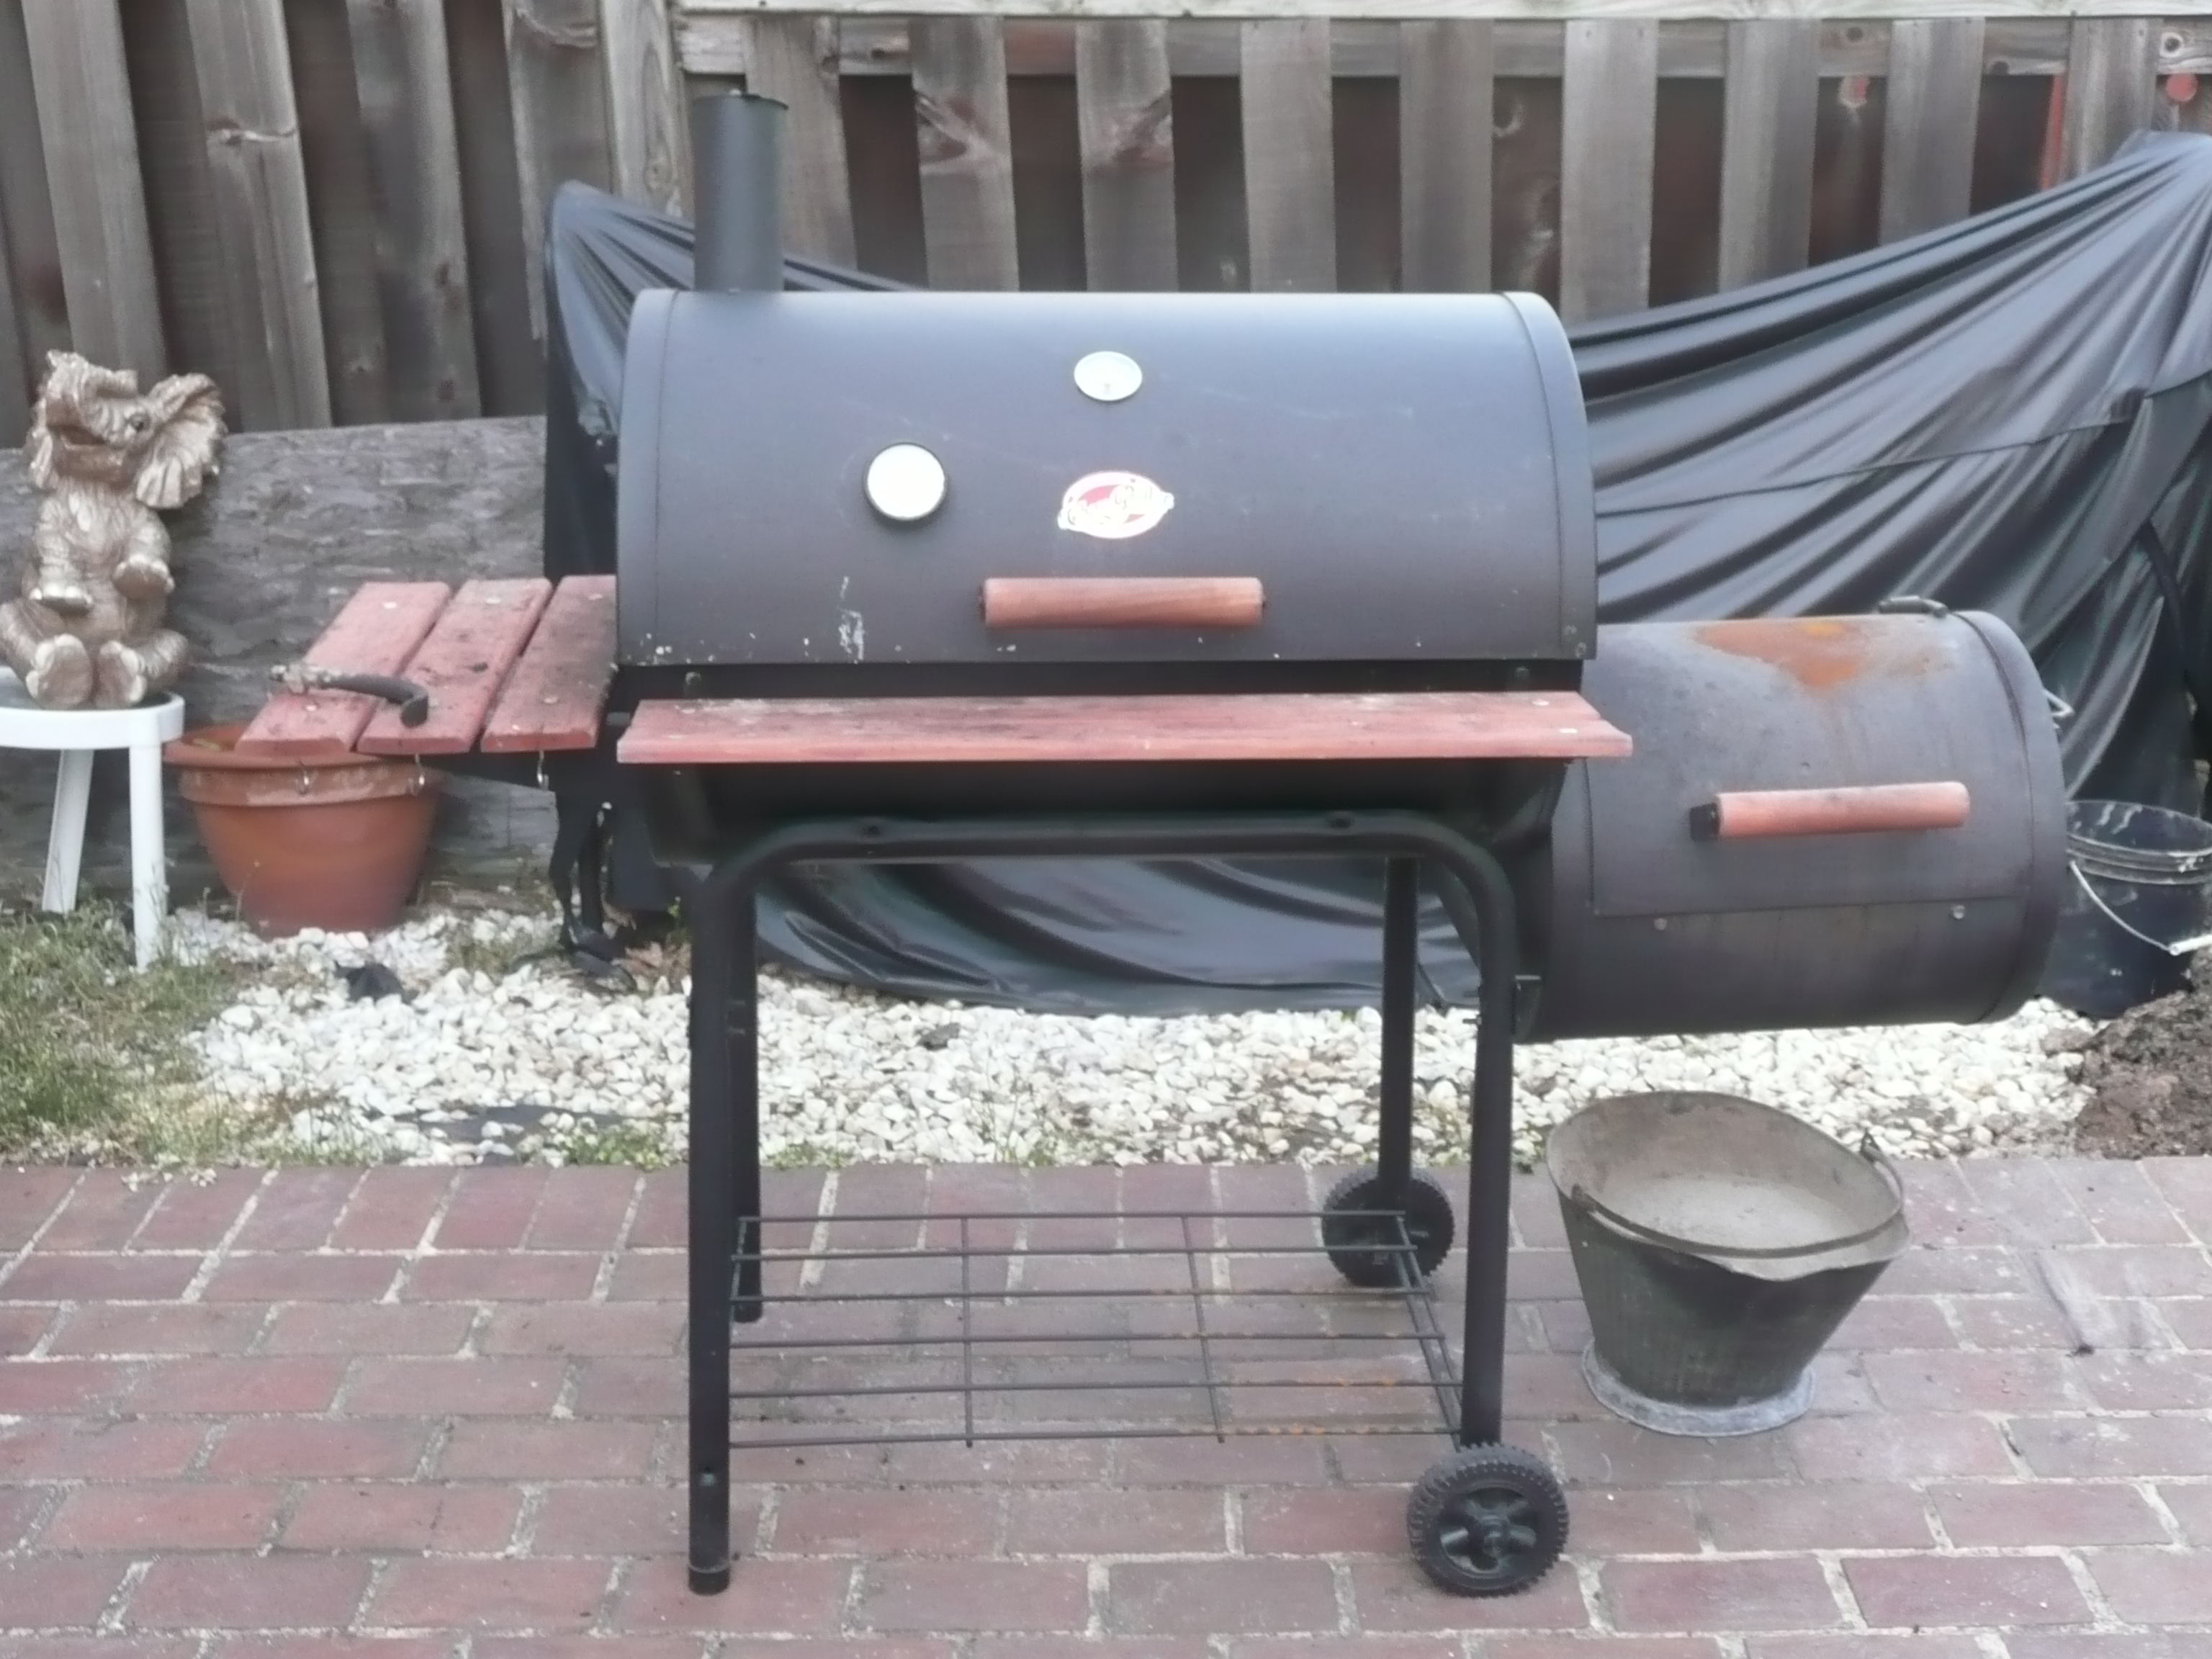
It has finally reached 60 degrees out here in DC and yes, it is time to BBQ. This winter I have made a few modification to Old Bessie (Yes I named my BBQ). I was searching all over the internet for good mods to make to the Char Griller Smokin Pro and I have found a great website DeeJaysSmokePit.net. Over on the forums there you can find a great PDF document by Phil Lee that has great mods for the Smokin Pro.
After scrolling through the mods I found a few that were easy to do and did not require too many tools.
First I added a new thermometer as the one that came with Old Bessie is not accurate at all.

Adding a new thermometer costs about $10 and makes all of the difference. It is accurate and is a must if you have the Smokin Pro. It took me about 20 mins to install, but would be substantially quicker if you have metal drill bit. Since I did not have a metal drill bit, I used a wood 1″ drill bit. Honestly it took 20 mins and I almost killed myself, but it is definately worth it.
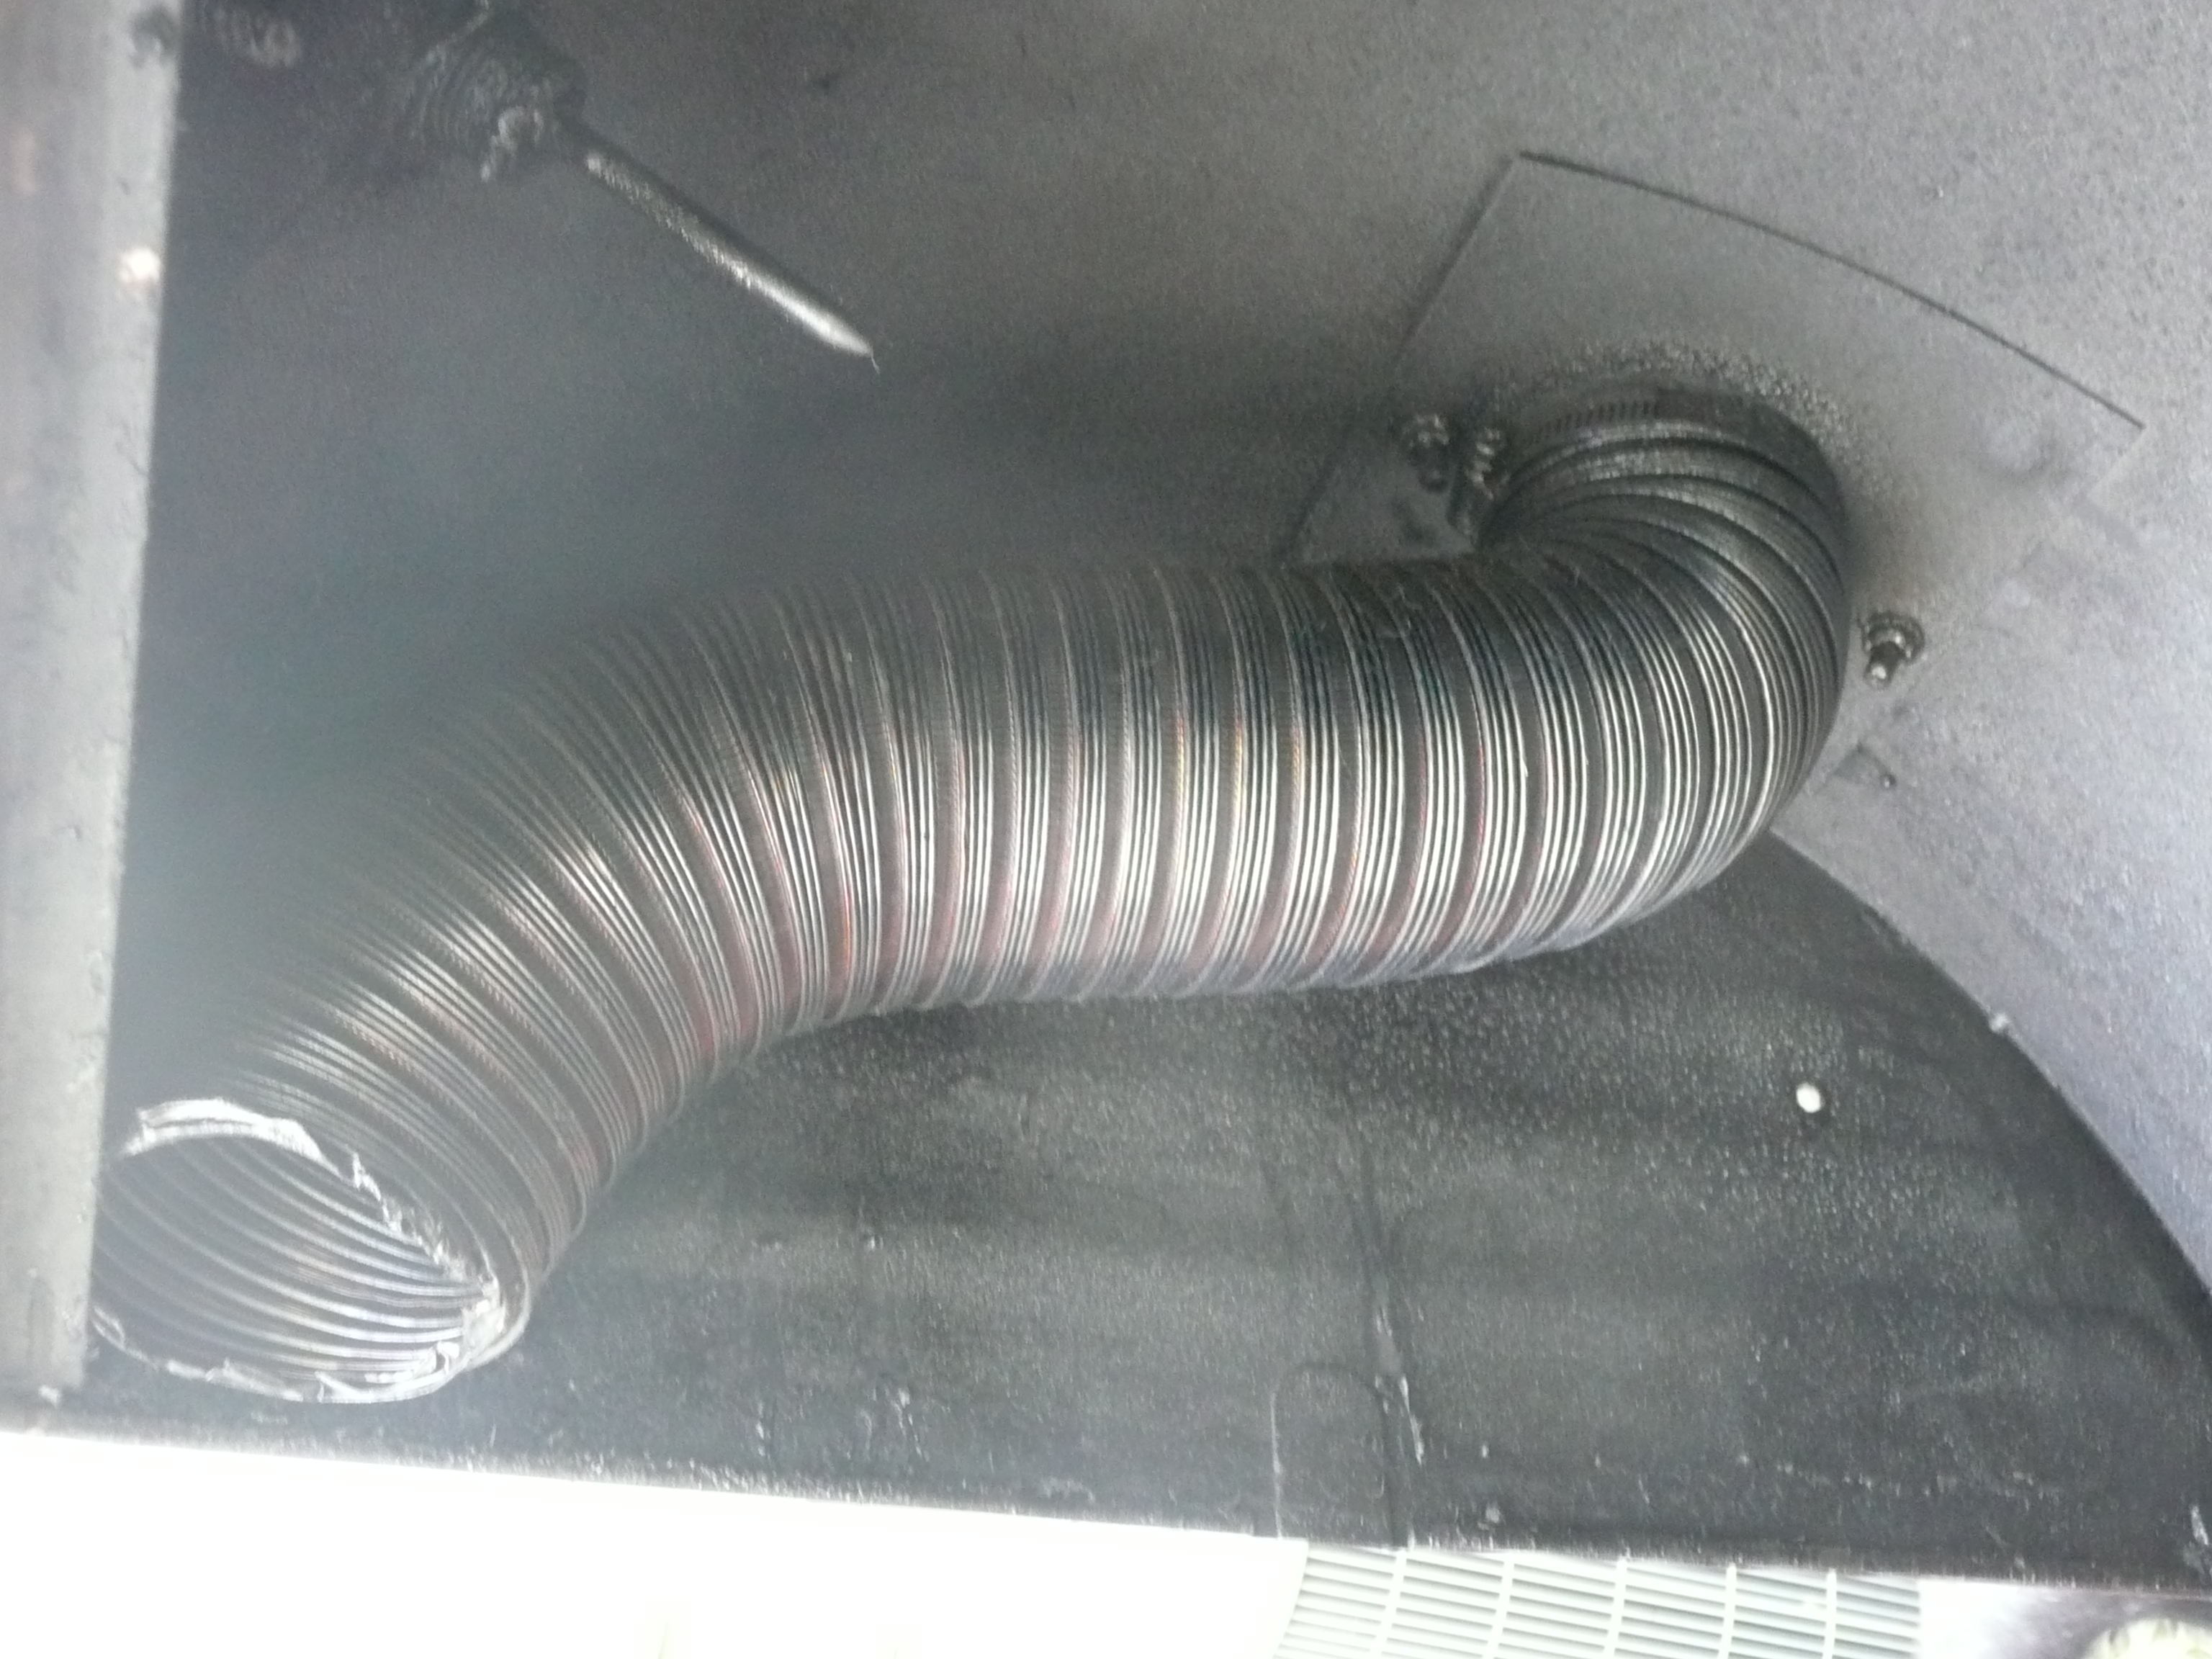
Next I extended the chimney down to the grate. This was required as the chimney is installed too high on the smoker allowing the heat and smoke to escape without even touching the meat.

This too was quite simple. All you need is:
- 3 in. flexible aluminum dryer vent tubing.
- 3 in. round clamp
- Screwdriver
First slip the ring clamp over the end of the tubing. Then just slip the end of the dryer tubing with the clamp over the inside flange of the chimney. Tighten the clamp to secure. Then bend the tubing to contour the top of the lid. Once bent cut the tubing at the point where it just touches the edge of the lid. You can then drill a hole in the side of the lid and secure with a wingnut, but I just wedged the tubing behind the lip of the lid (as shown above). The tubing hasn’t moved at all, so securing with a wingnut is not necessary.
The first time that I used this modification it improved cooking time by 2 hours and the final product was the best that I have seen from Old Bessie.
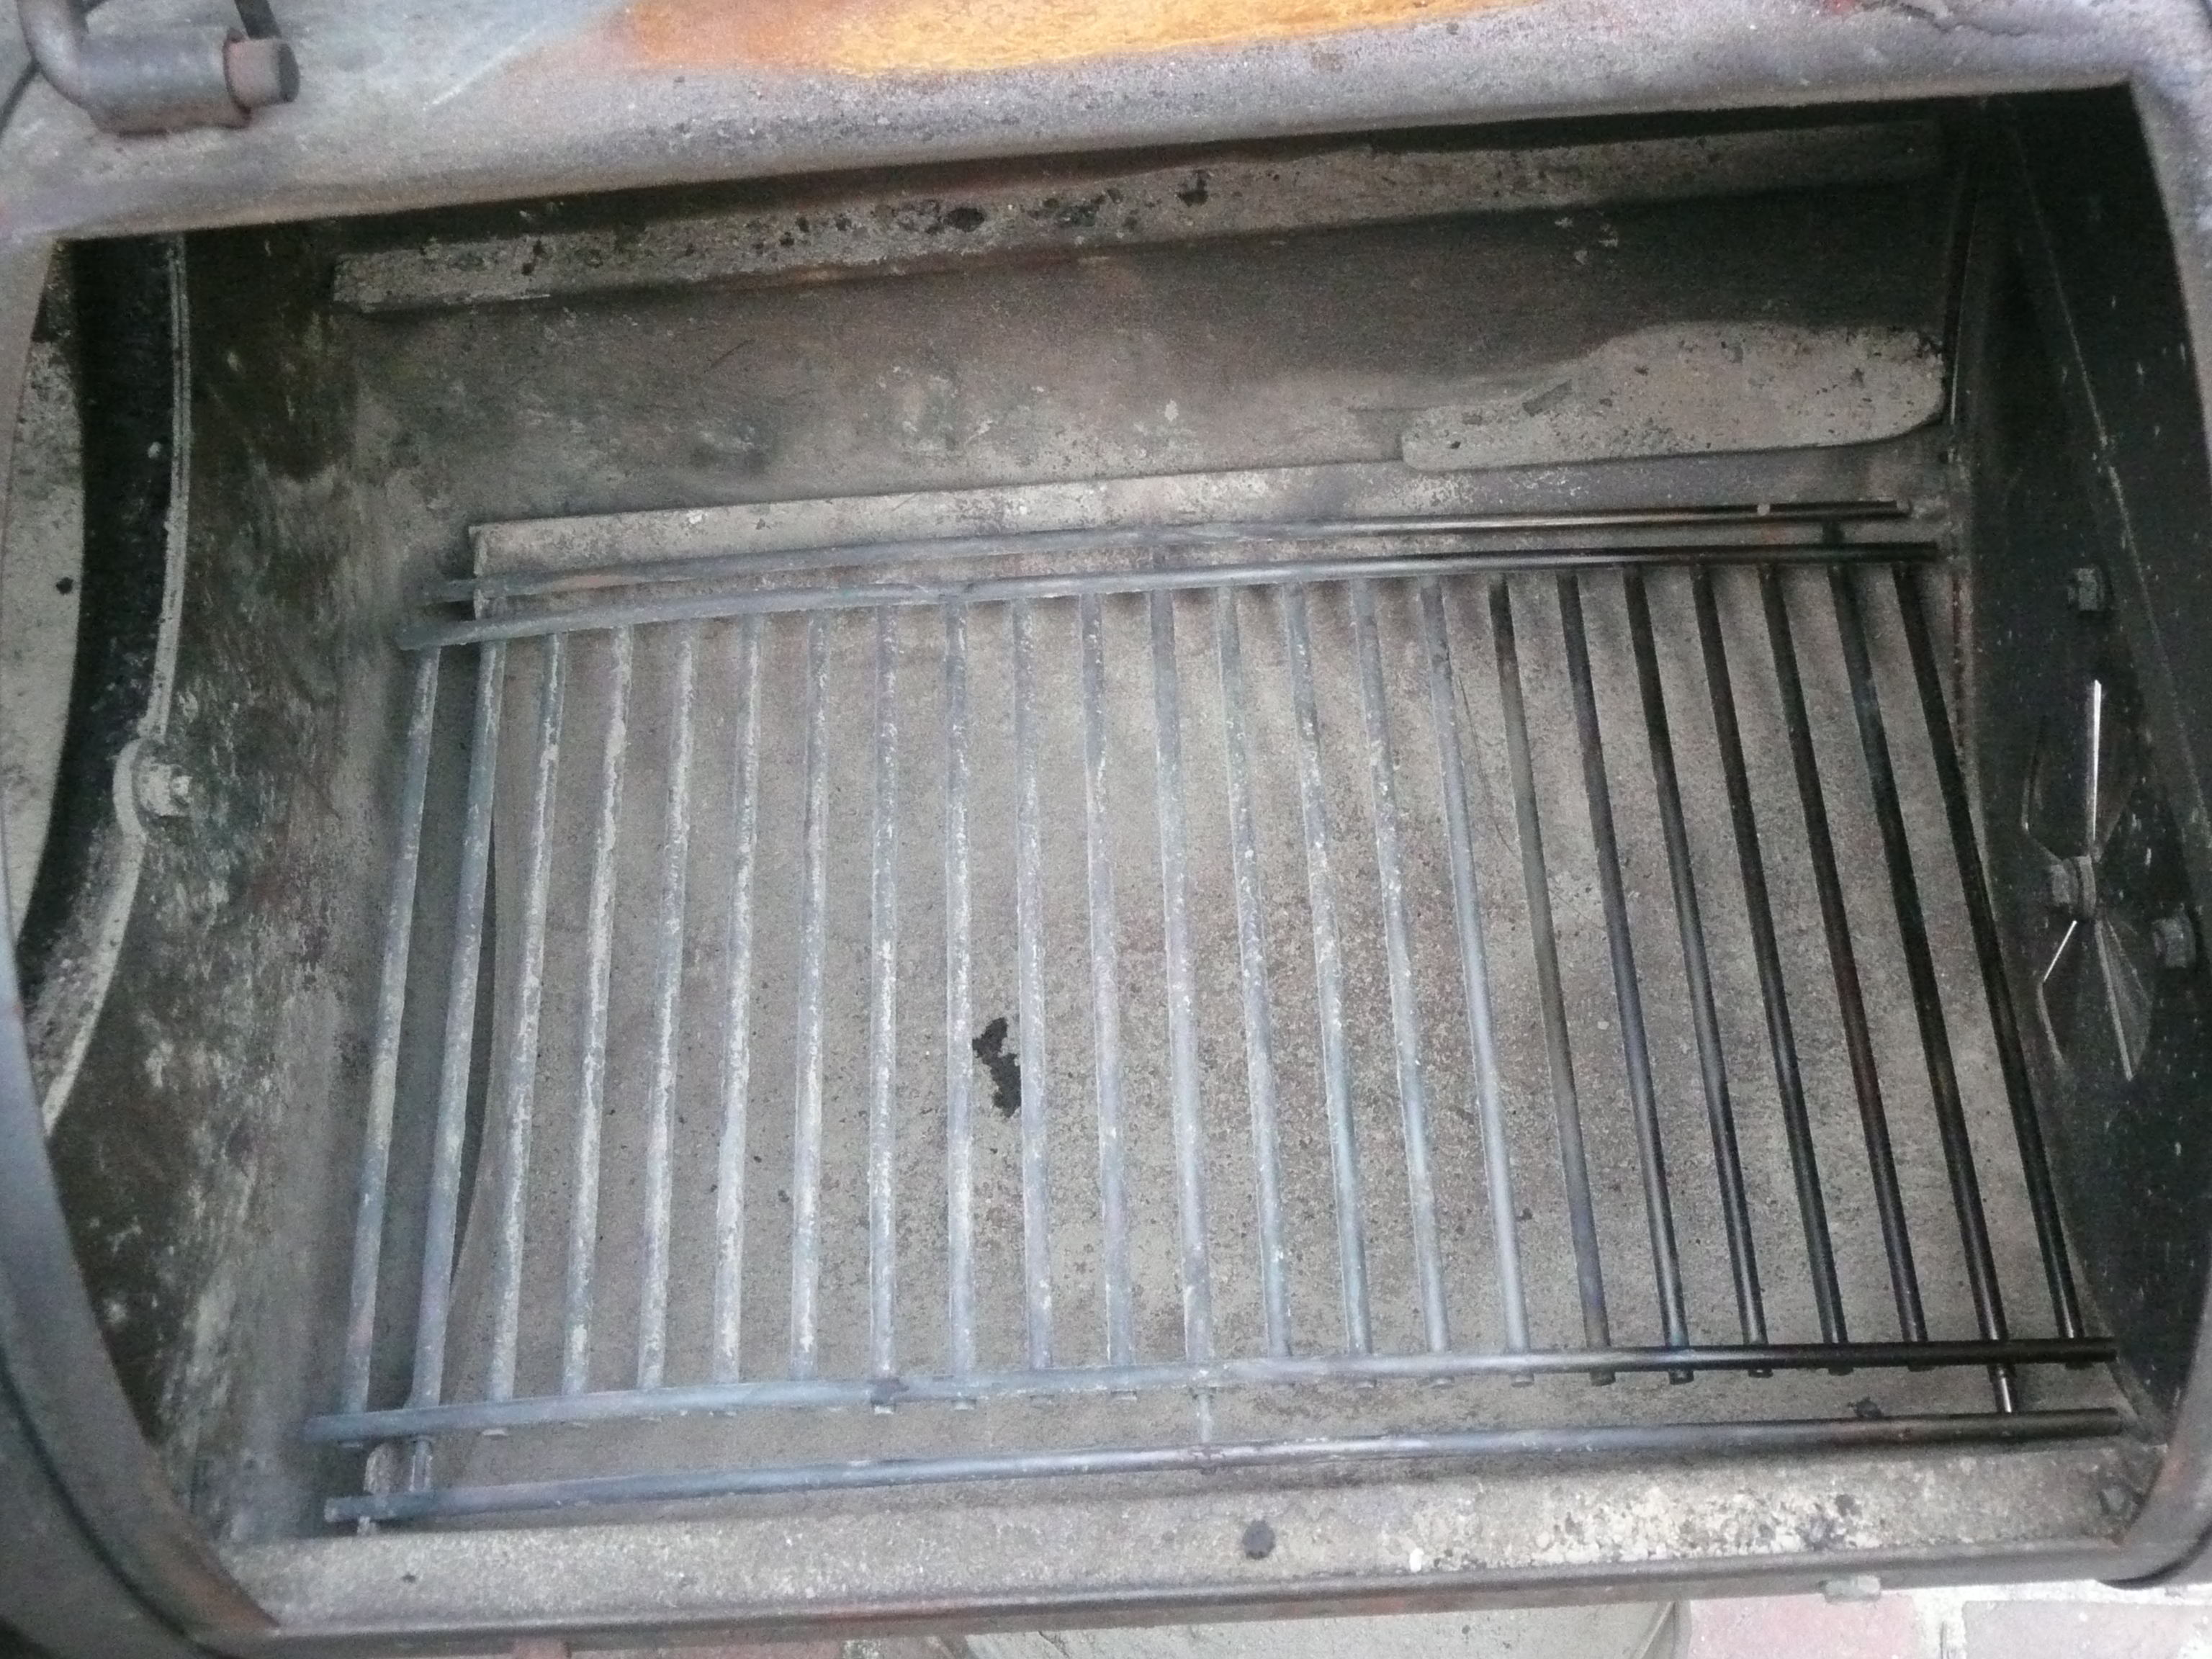
My third modification was to replace the smoker box grate with a new sturdier grate that sits higher to allow for better air-flow.

This one mod was a tad bit harder as once again it requried a drill bit. I should invest in a good set of metal drill bits but I love slipping and cutting my fingers. All you need is:
- Char Broil 17in. adjustable grate that you can pick up from Home Depot.
- 1/4 in. Drill bit
- Metal clippers
Remove the ash Drawer. Open the wings on the 17 in. grate apart so it rests on the pan and just below the damper
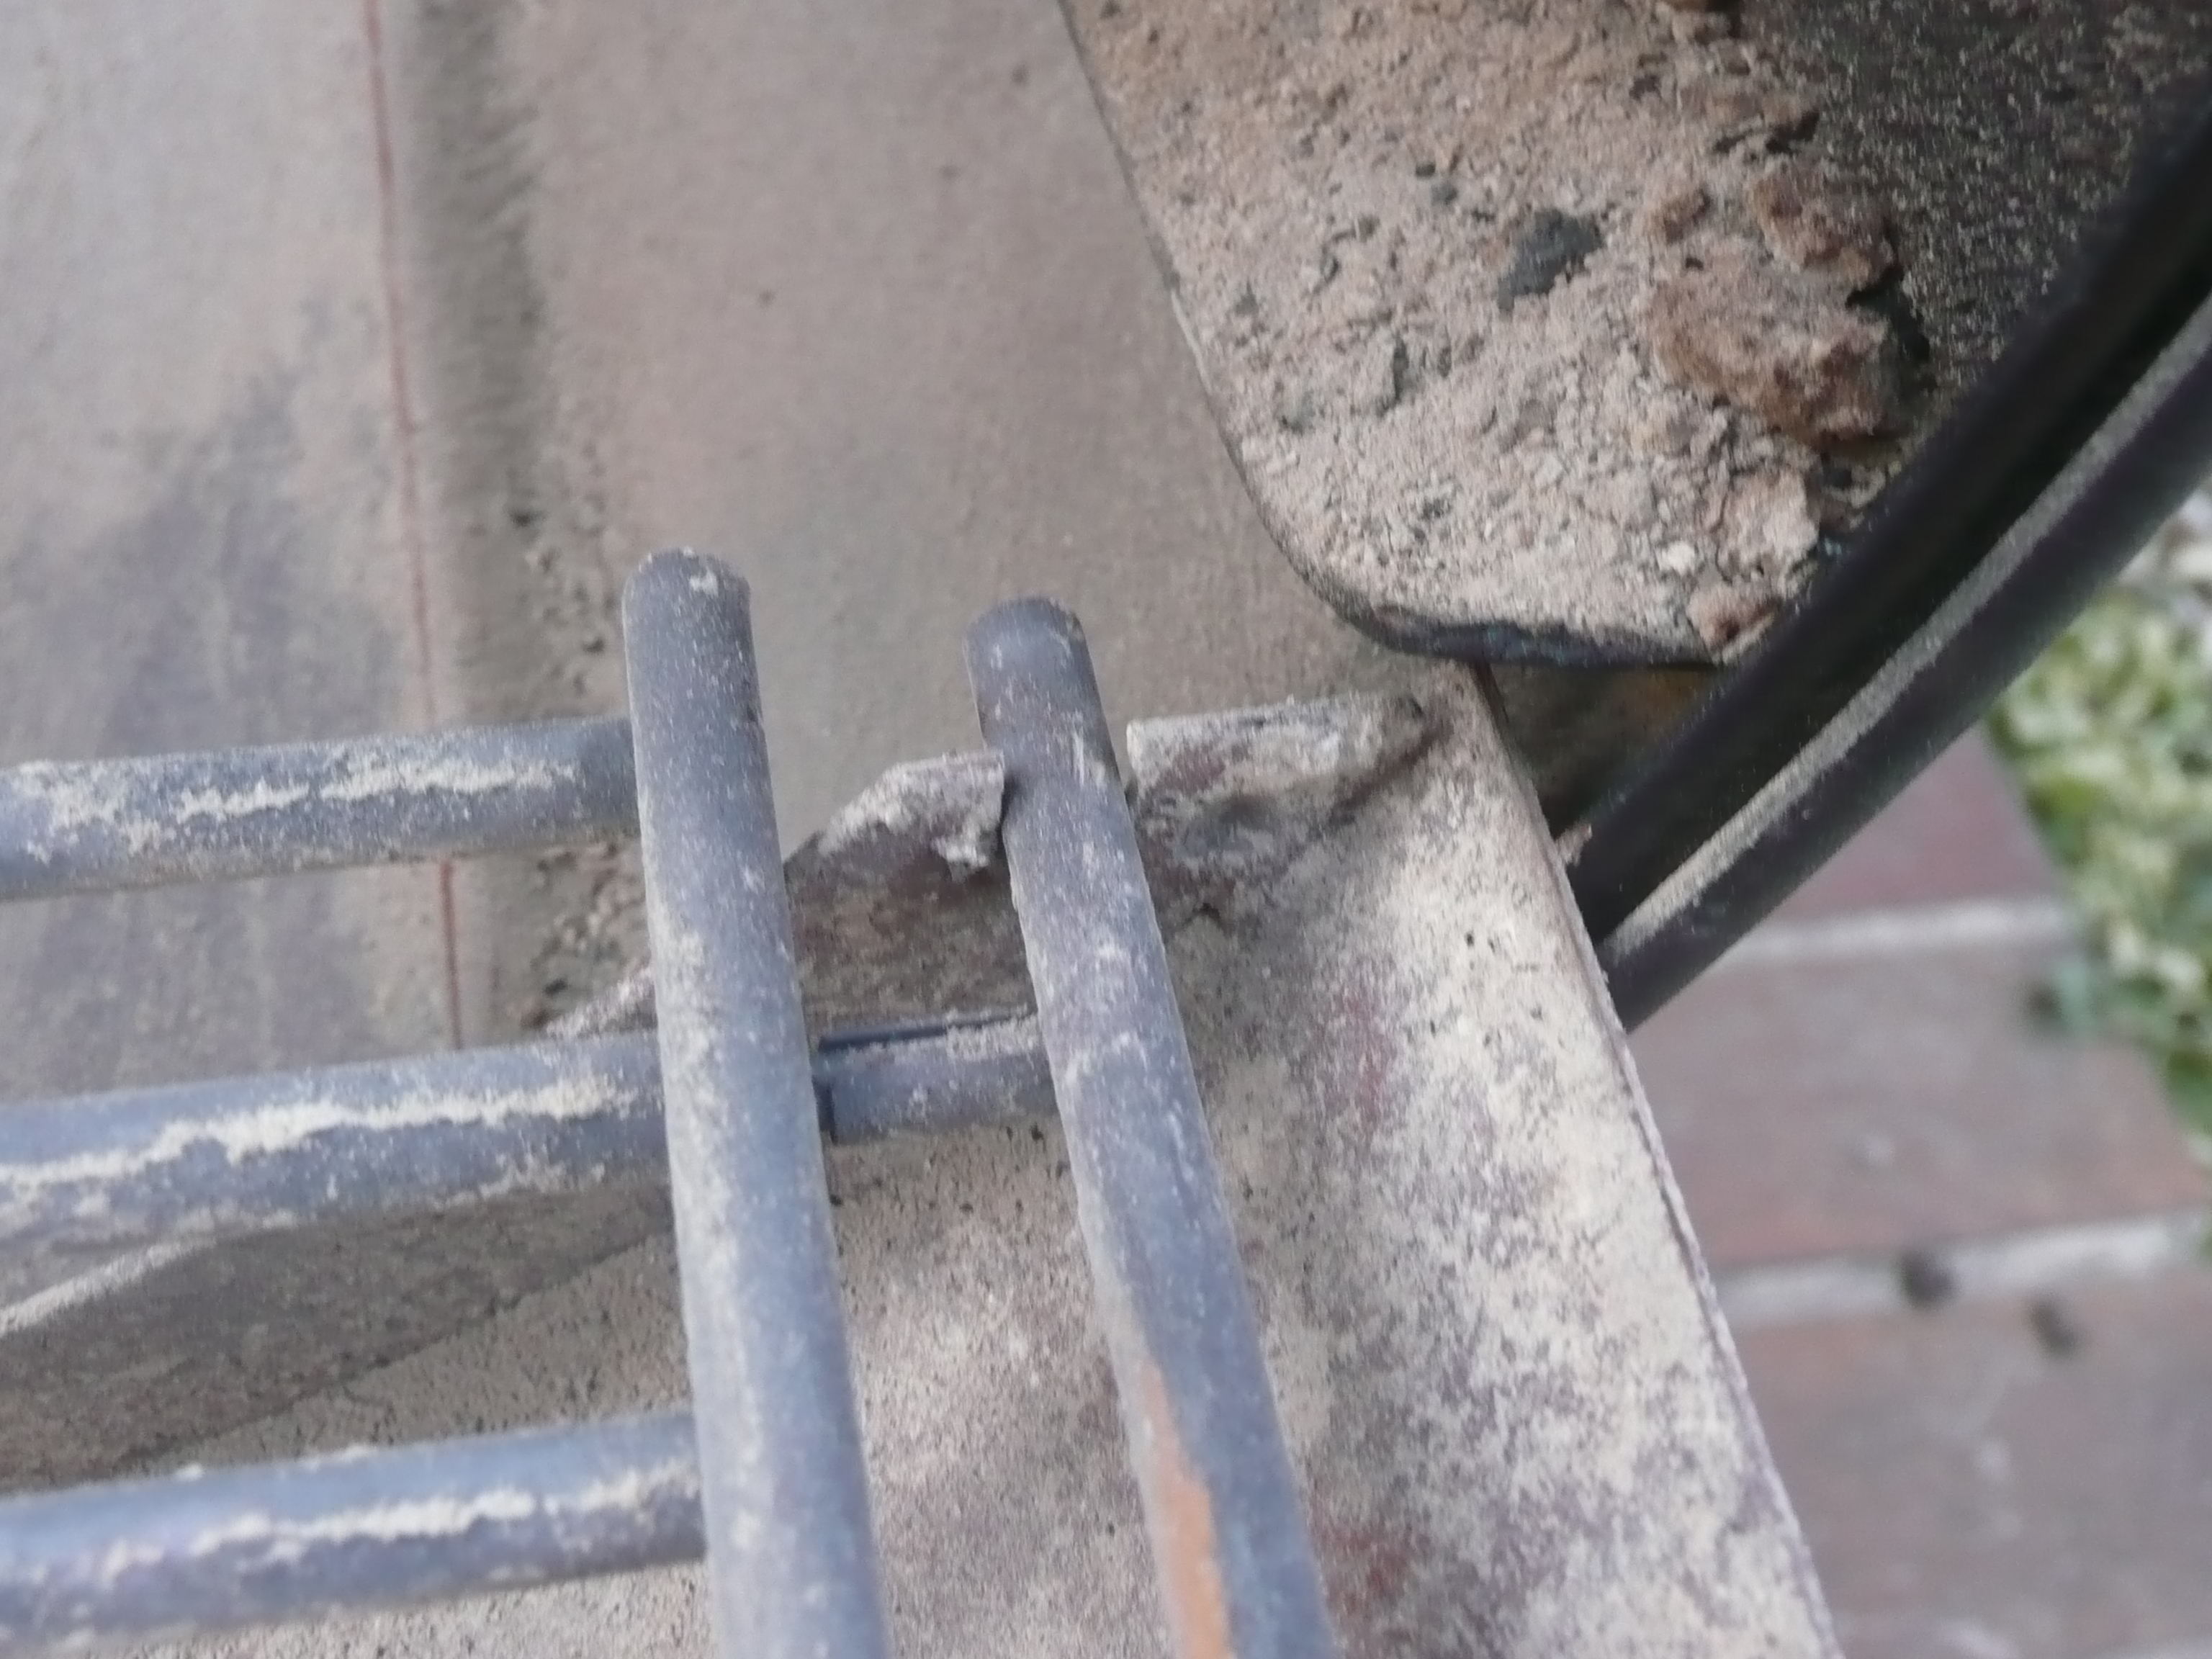
bolt. Mark the lip (opposide the handle) where the grate rails rest then drill two holes on the inside lip where you marked. Once the holes are drilled, cut the remaining metal to form two slots. Make sure the grate sits pretty level.

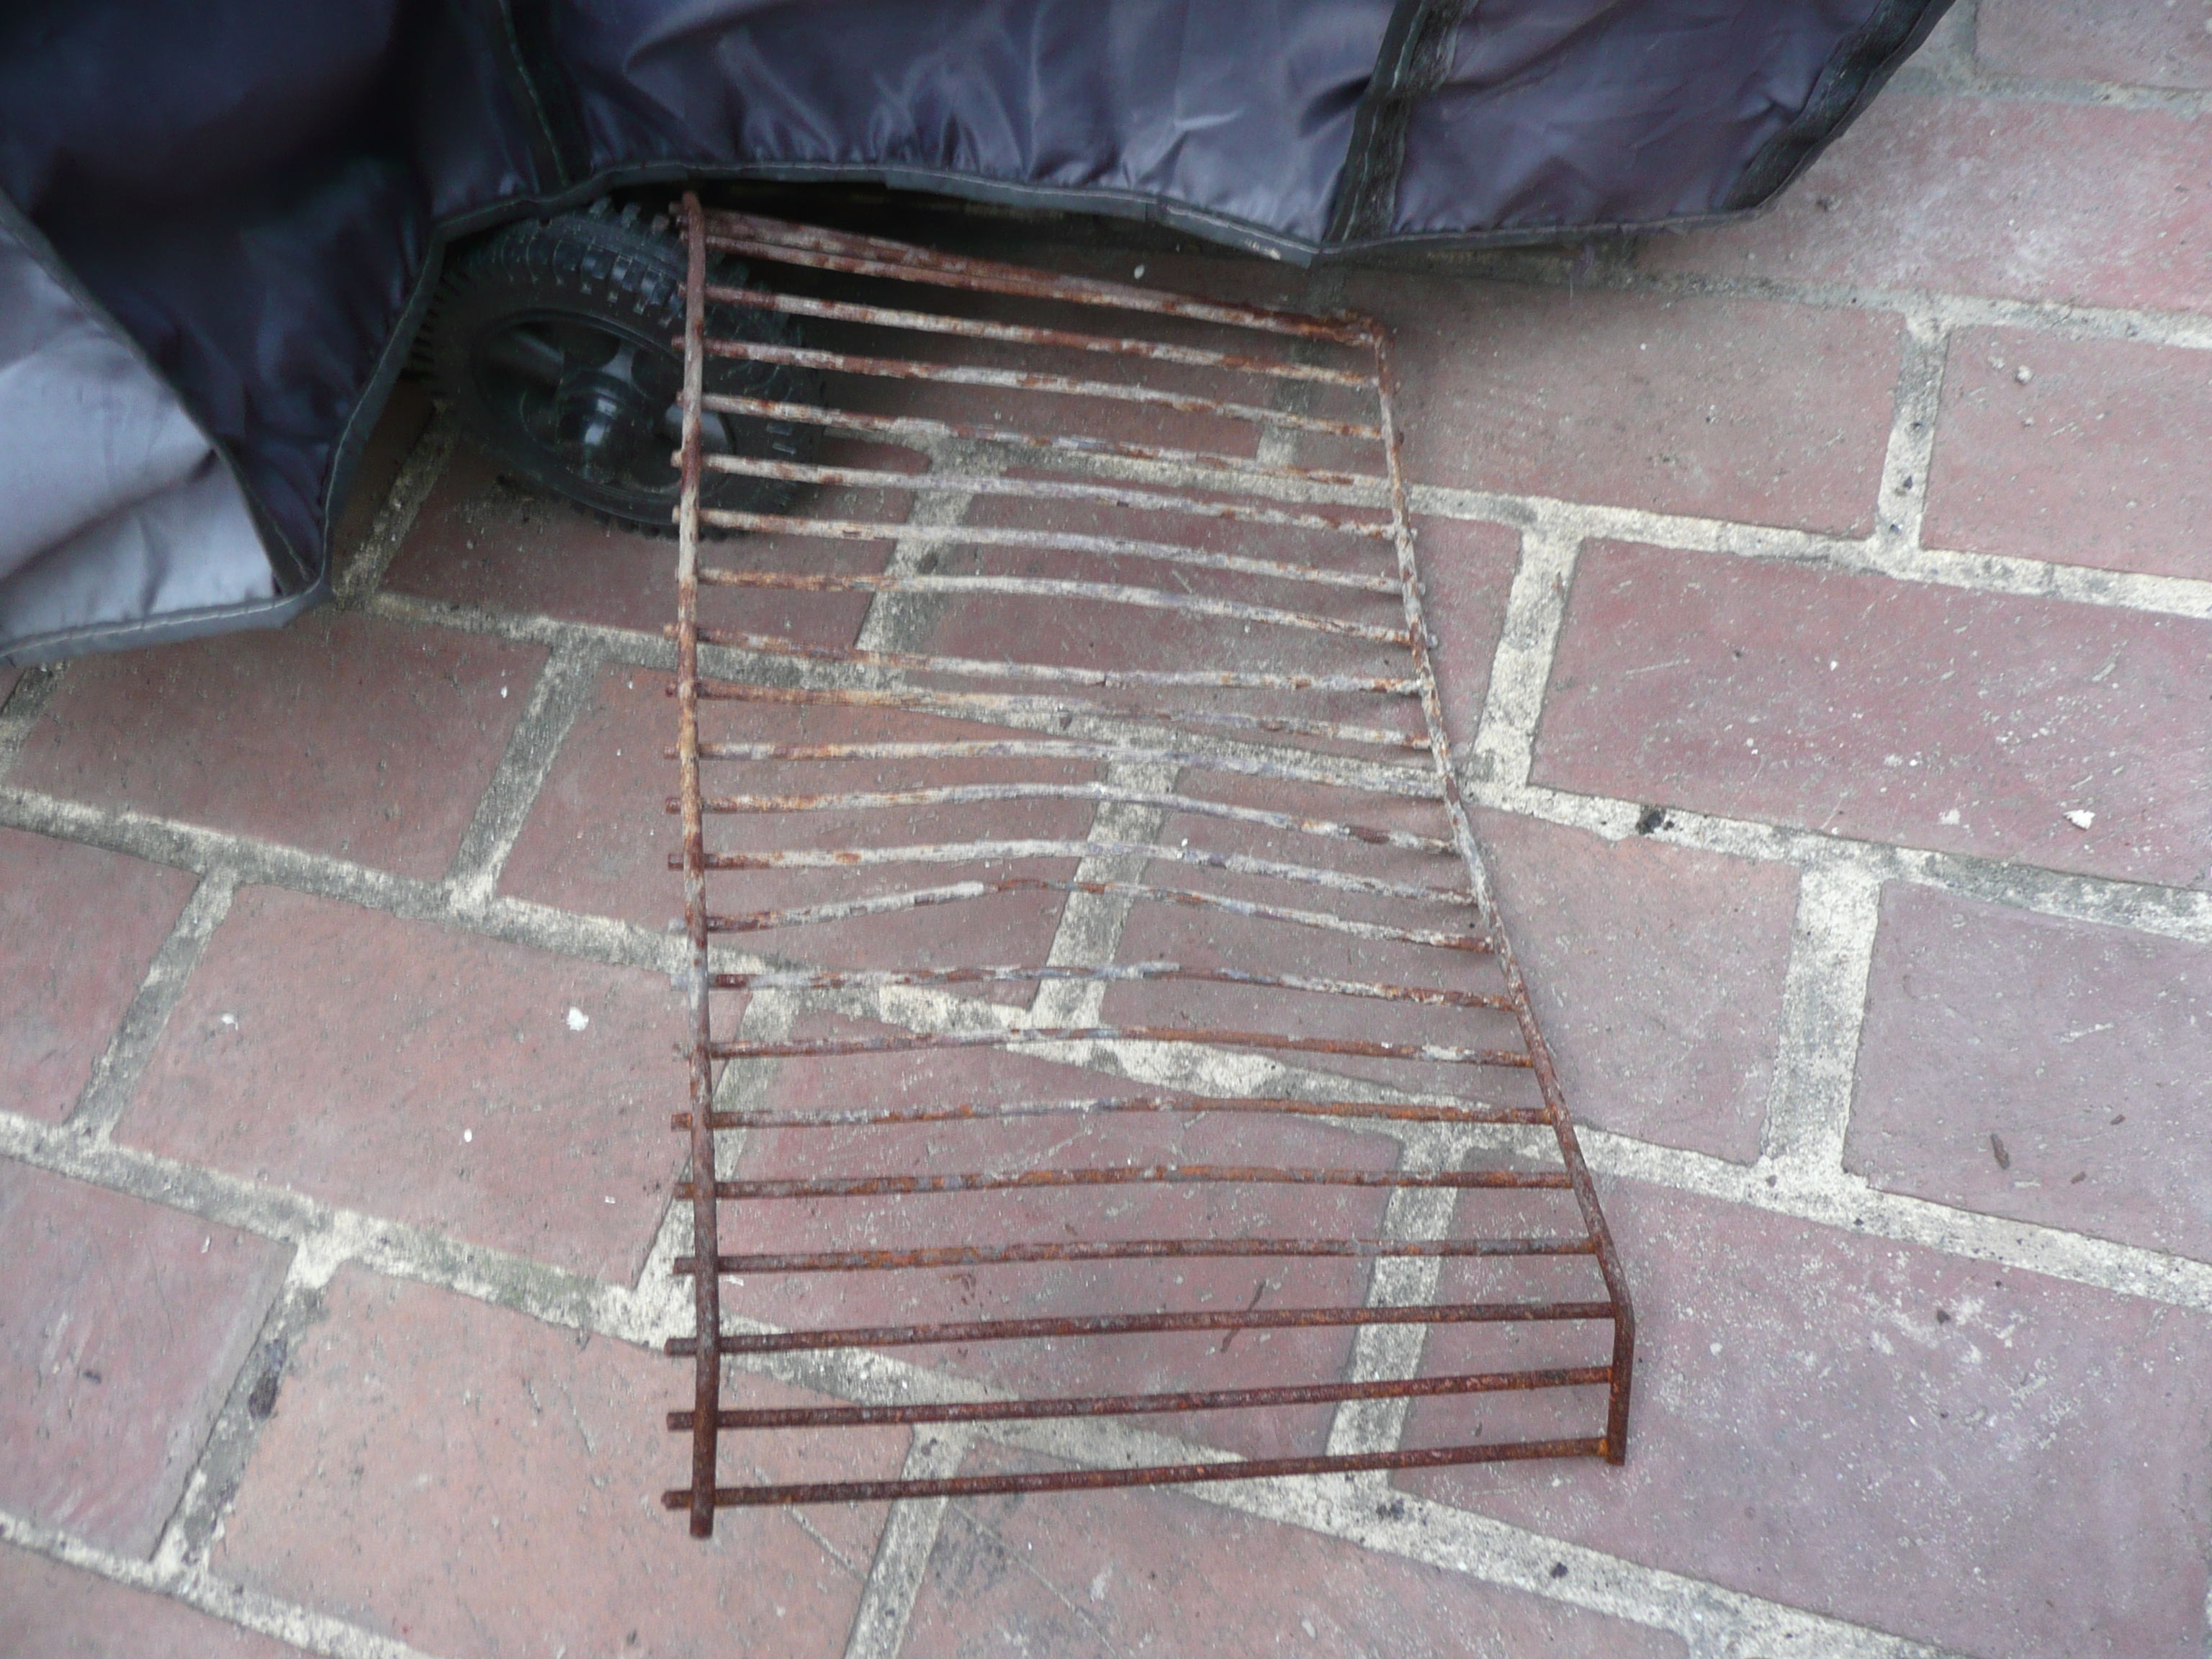
As you can see the grate fits snuggly in the slots. This is key if you dont want it to fall. Below I have included a picture of the original firebox grate. As you can see it is extremely deformed from the heat.

Hope these mods and links help. Check back soon for the BBQ posts. I will have great recipes for rubs, marnades, and mops. Plus look for the post on BBQ 101.
I don't know if this works yet but I have the same smoker shown above. Since I intend to just use it as a smoker I took the adjustable tray the holds the charcoal in the cooking side, flipped it over and attached it to the intake from the firebox and it eaxtends all the way to the other end. Now the heat and smoke has to travel along that shield and and it billows out all along the out side edges. I was hoping to even out the heat and smoke coverage so the meat is evenly heated and smoked no matter where it is on the grill.
William,
That can work to help even out the heat. The best bet for these smokers, is to convert them to a reverse flow smoker. Basically you create a chamber under the grates so that the smoke has to travel to the far end of the cooking chamber before going up. Then you need to move the smoke stack to the end of the cooking chamber closest to the firebox. Then the smoke heats the chamber as it flows under the grates, then goes across the meat before exiting. Makes the smoker twice as efficient and also regulates the cooking temperature. Definitely the way to go. You can get steel sheets from Home depot that work great for this.
Rex