A couple of weeks ago I made a sourdough starter and ever since I have been getting emails about making bread. I made pizza’s and pancakes but failed to make good ole sourdough bread. So today I made sourdough bread.
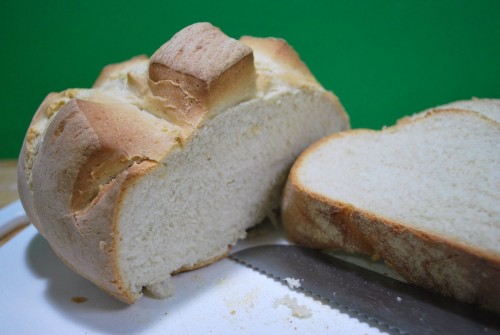
Sourdough bread is pretty easy, it just takes some time.
Sourdough Bread – (From Better Homes and Gardens New Cook Book)
- 1 cup of sourdough starter
- 5 1/2 to 6 cups all purpose flour
- 1 1/2 cups water
- 1 package of active dry yeast
- 3 tablespoons sugar
- 3 tablespoons butter
- 1tsp salt
- 1/2 teaspoon baking soda
The first step is to measure out your sourdough starter and let it come to room temperature. About 30 minutes. Don’t forget to replenish your sourdough starter. To replenish add 3/4 cup of flour, 3/4 cup of water and 1tsp honey or sugar.
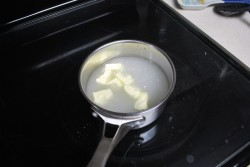
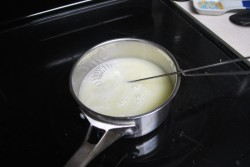
Next in a sauce pan add the water, sugar, salt and butter and bring to about 120 degrees. This is about the temperature at which the butter will melt.
|
|
|
Next add 2 1/2 cups of flour and the yeast to your mixer bowl. Make sure to use your beater attachment. Turn the mixer onto low and slowly add the wet ingredients from above. If you have a splash guard for your mixer, I would recommend that you use it.
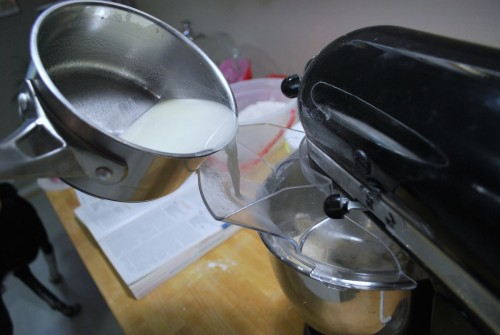
Continue beating on low for 30 seconds and then beat on high for 3 minutes.
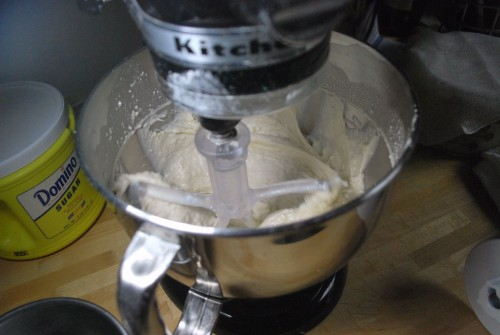
Once done, remove the beater attachment and replace it with the dough hook. Turn the mixer onto low and add another 2 1/2 cups of flour and the baking soda. Once the flour is fully incorporated add as much flour as you can until the dough is not sticky and is firm to the touch. Once you have incorporated all of the flour, turn your mixer up a couple of speeds and let it knead using the dough hook for 6-8 minutes.
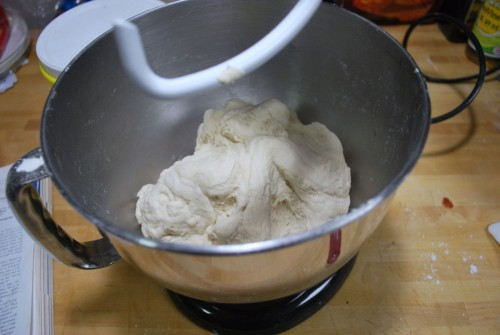
Turn the dough out onto a lightly floured surface and knead for a minute and form a ball. Lightly grease a bowl and place the dough into the bowl. Turning the ball once to grease all of the sides. Cover with a cotton tea towel and let rise in a warm place for an hour or so. Till the dough doubles in size.
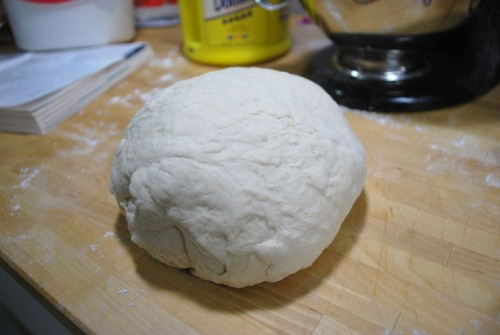
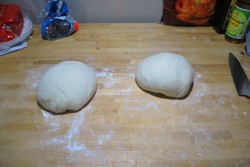
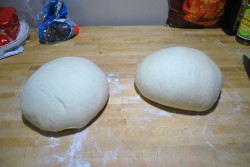
Once doubled punch the dough down and turn onto a lightly floured surface. Cut the dough in half and let rest for 10-15 minutes. Shape the two halves into balls by tucking the edges underneath the middle of the dough. If you are going to make loaves, flatten the dough into a sheet and roll into a log. Place the dough either on a greased cookie sheet or greased loaf pan. Or if you are going to use a pizza stone, place the dough on a cookie sheet/ pizza peel lightly covered in cornmeal or semolina.
 |
 |
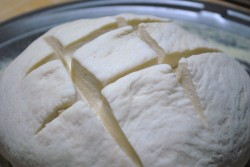
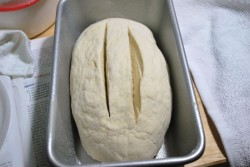
Once the dough is shaped, use a sharp knife to cut slashes on the loafs. For round loafs I use a criss-cross pattern and for loaf pans I use two parallel slashes.
|
|
|
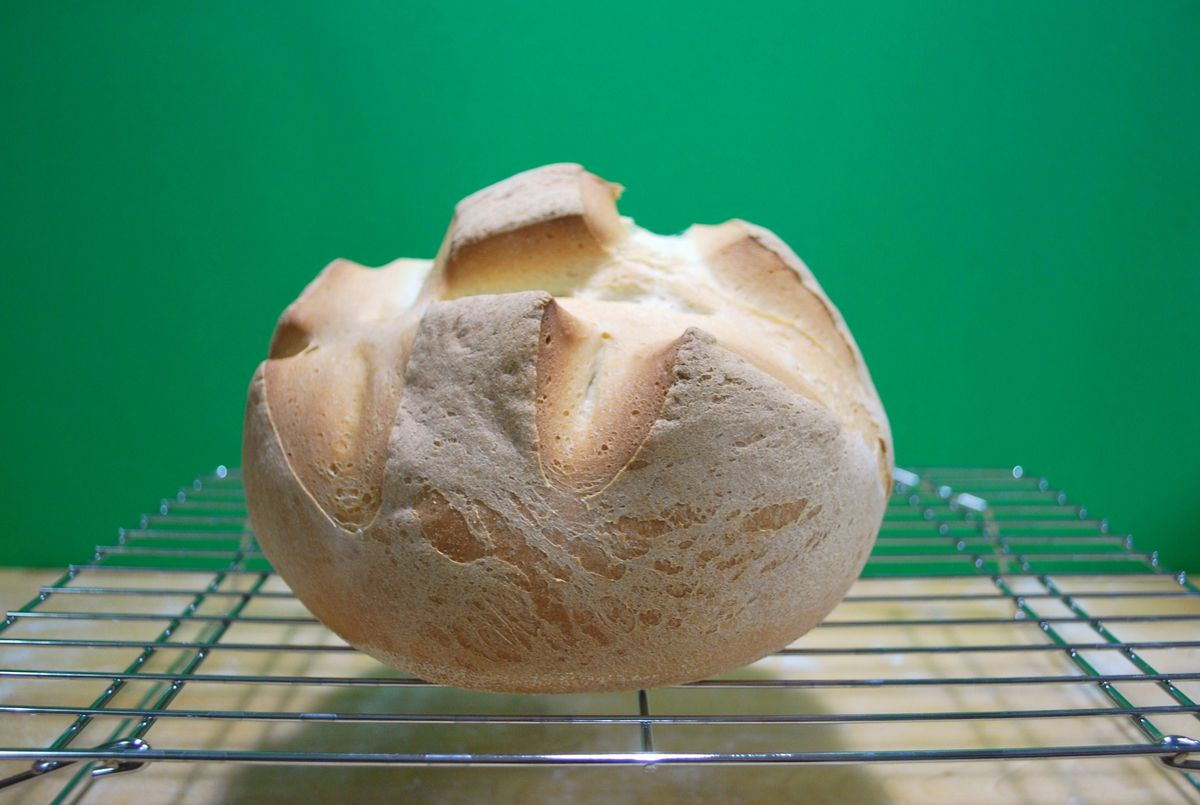
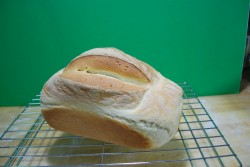
Cover the loafs with a towel and let rise for 30-50 minutes. Don’t let it rise too much or else you will end up with airy bread that will be hard to cut and use. Preheat the oven to 375 degrees.Place the loafs in the oven and cook for 30-35 minutes. An easy way to check if the bread is done is to tap and see if it sounds hollow. If not give it a couple more minutes. The top split a lot but the round still looks pretty.
|
|
Remove it from the oven and let it cool on a wire rack. Once cooled you can put the loafs into plastic bags or containers to store it.
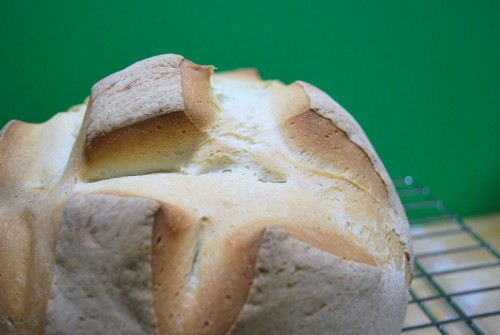
This recipe makes a great loaf of bread. Bravo BH & G. The sourness depends on your starter. The older the starter the more sour your bread will be. My starter after 3 weeks was perfect. It had that sourdough flavor that I was looking for.


There is something about sourdough bread that I just LOVE. Have you ever heard about Sourdough International's sourdough starter? I have a friend who bakes and she uses their starters but I kind of wanted some more reviews..